
I have rarely used colour and glitter embossing powders until I applied a new technique that changed my attitude to them.
 Today I am sharing four cards made with glitter and colour embossing powders and one steel die from Simon Says Stamp. These powders were sitting patiently and waiting for their chance to be used. Now I really keen on expanding my collection of powders and looking for best colour combinations.
My first card is strongly inspired by this card by Laura Bassen. However I did not want to lift it completely and made several steps differently.
To make my background slightly warmer I blended Blueprint Sketch, Mermaid Lagoon and Twisted Citron Distress inks.
When I have finished blending inks, I added ink splatters with Distress Markers and Spritzer Tool, and then heat set all inks with a heat gun.
To add some texture to the background I sprinkled chunky white enamel and melted it from beneath.
 To create sparkling Mum Flower Frame I die cut it from a white card stock, inked with embossing ink pad, covered with clear sparkle embossing powder and heat embossed.
To achieve a gorgeous even sparkling layer I repeated this step.
 For my second card background I blended Wilted Violet, Dusty Concord and Tumbled Glass Distress inks. To make splatters I diluted Wilted Violet Distress ink and Perfect Pearls powder in matching shade. Water diluted perfect pearls add soft shimmer to colour accents.
 The flower is die cut with Mum Flower Frame die from a black card stock and heat embossed with black sparkling embossing powder twice.
Do not forget to swipe off excess glitter prior to inking the die cut for the second time! Black powder may stain an ink pad badly.
For both of these cards I used sentiments from an exclusive Simon Says Stamp set.

Ever since I have made THIS card with Multiple Layer Heat Embossing, I wanted to apply the same technique to a delicate die cut. Mum Flower Frame seemed to be one of the best dies to try this technique with.
For the next two cards I die cut frames from square pieces of white card stock and dusted them with anti static powder.
The best way to apply embossing ink for this technique is to squeeze embossing ink onto an acrylic block and to use a synthetic brush to moisten specific areas.
I worked from the center to the edges of the flower inking the die cut in circles, covering the inked part with embossing powder and then heat setting it.
I started with one layer of yellow powder, heat set it, then made a layer of orange, and finished with a pink layer.
Next I repeated all three steps slightly overlapping powders to make them blend beautifully.
For the third layer I applied ink only to selected spots and added accents with glitter powders.
 To finish off the flower embossing I added tiny dots of embossing ink, covered them with chunky seasoning and melted it.
When the flower was ready heat embossed I covered it with a scratch paper and applied ink with embossing ink pad to the frame, covered the inked sides with black powder and heat set it.
Two layers of black powder give a fancy polished look to the frame.
 For this card I used the same embossing powders as for the previous one.
 However this time I added chunky seasoning only to the black frame and to the edges of the flower.
This seasoning slightly adds dimension and stands out wonderfully on a black polished background.
 Look, how gorgeous this frame is! It reminds me a glazed casket.

Now on to you, tell me, would you try Multiple Layer Heat Embossing of Die Cuts?


My first card is strongly inspired by this card by Laura Bassen. However I did not want to lift it completely and made several steps differently.
To make my background slightly warmer I blended Blueprint Sketch, Mermaid Lagoon and Twisted Citron Distress inks.
When I have finished blending inks, I added ink splatters with Distress Markers and Spritzer Tool, and then heat set all inks with a heat gun.
To add some texture to the background I sprinkled chunky white enamel and melted it from beneath.
To achieve a gorgeous even sparkling layer I repeated this step.
2 Helpful Tips:
- Let the heat embossed frame cool down before inking it for the second time.
- Swipe off glitter with a soft dry brush that was not heat embossed. This will help you to avoid transfer of dry glitter to your ink pad.

Do not forget to swipe off excess glitter prior to inking the die cut for the second time! Black powder may stain an ink pad badly.
For both of these cards I used sentiments from an exclusive Simon Says Stamp set.

For the next two cards I die cut frames from square pieces of white card stock and dusted them with anti static powder.
The best way to apply embossing ink for this technique is to squeeze embossing ink onto an acrylic block and to use a synthetic brush to moisten specific areas.
I worked from the center to the edges of the flower inking the die cut in circles, covering the inked part with embossing powder and then heat setting it.
I started with one layer of yellow powder, heat set it, then made a layer of orange, and finished with a pink layer.
Next I repeated all three steps slightly overlapping powders to make them blend beautifully.
For the third layer I applied ink only to selected spots and added accents with glitter powders.

When the flower was ready heat embossed I covered it with a scratch paper and applied ink with embossing ink pad to the frame, covered the inked sides with black powder and heat set it.
Two layers of black powder give a fancy polished look to the frame.

This seasoning slightly adds dimension and stands out wonderfully on a black polished background.


I suggest you to try this technique with this frame die or another frame die by Simon Says Stamp. Luckily there is a rather big selection of designs.


- Simon Says Stamp BIRCH CIRCLE Wafer Dies s550 Best Days

- Price: $19.99


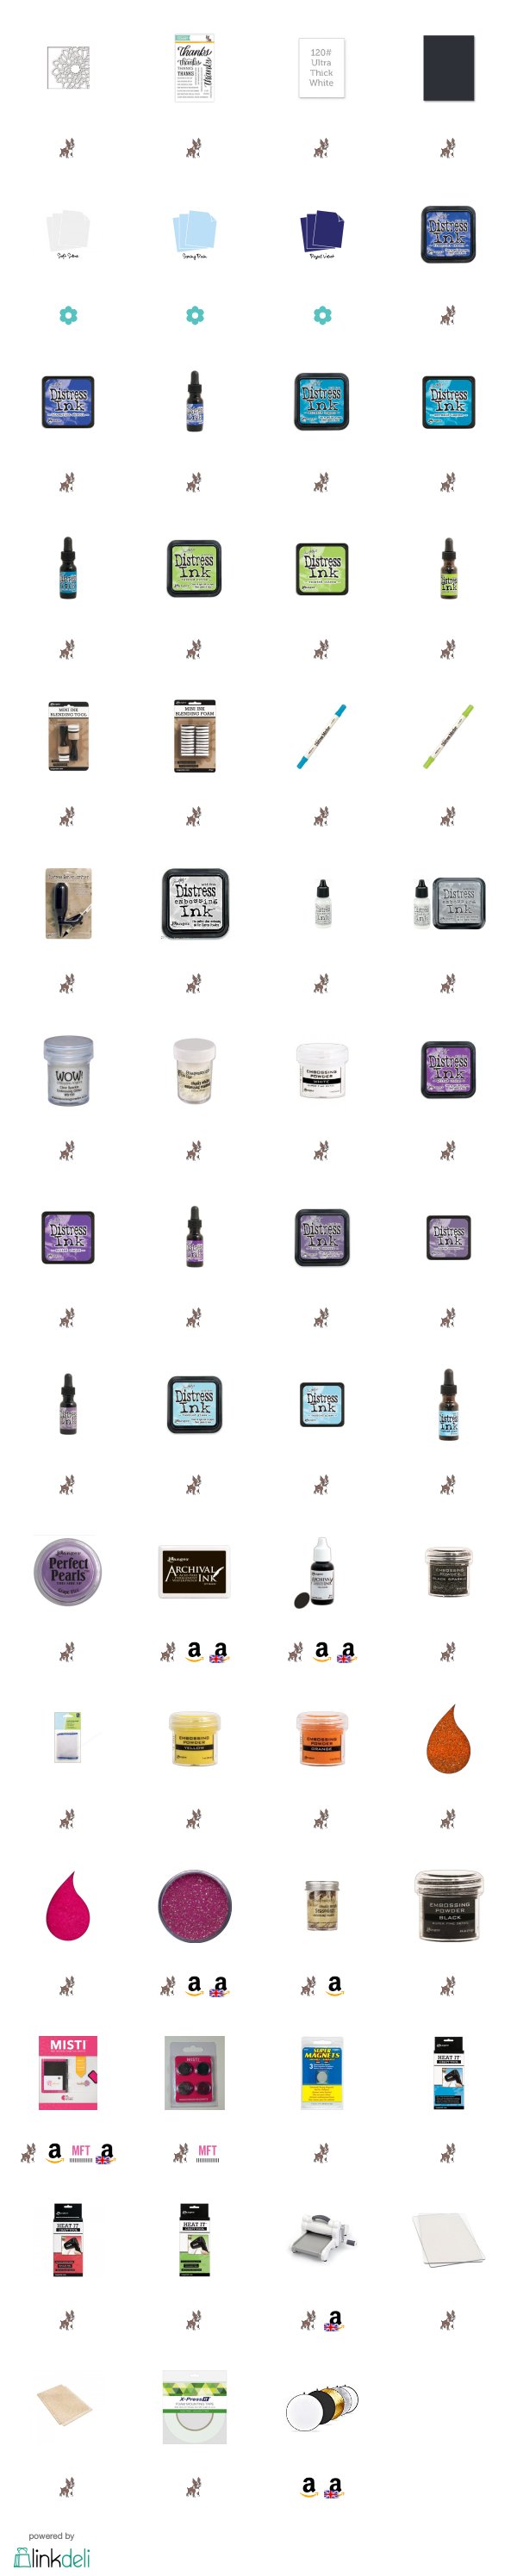
Supplies Used
Some links are compensated affiliate links. I personally have bought all the below displayed products. This post was not paid or sponsored.
Click on the icons below to go to your preferred online store. If you buy any of these products following my link, I will receive a small commission at no cost for you.
I am grateful to you, if you help me running this blog.
Three Reasons To Enjoy Multiple Layer Heat Embossing of Delicate Die Cuts:
- This technique is quick and easy to apply
- Heat embossed die cut has a luxury look
- No painting skills are required to create these fancy cards
Now on to you, tell me, would you try Multiple Layer Heat Embossing of Die Cuts?


Ohh..wow..Amazing !
ReplyDeleteGreat inspiration! Thank you for sharing.
ReplyDelete