Big Alphas steel dies are trendy now, and there are many ways to use them in card making. Today I am sharing one simple way to decorate big die cut alphas to achieve a gorgeous gold dipped effect.
Ножи для вырубки крупных букв завоевывают рынок скрап материалов. Существует много способов использования этих ножей, и сегодня я демонстрирую один простой способ для украшения крупных букв.
In this post I will explain how to decorate big die cut letters with pattern and gold. I have already demonstrated HERE several ways to make fancy dimensional die cuts with own pattern and coloured card stock. Today I will not add dimension, but still will create a die cut sentiment that stands out pretty on a card.
Сегодня я расскажу, как сделать открытку с частично позолоченными буквами. Слово dip в английском значит окунуть, например, в краску. В ЭТОЙ статье я уже рассказывала о нескольких простых и эффективных приёмах создания объёмных вырубок с помощью мелких штампов и цветного кардстока.
Todays card is a spin off of THIS card and again I used stamps and dies from the newest release of WPlus9.
Новая открытка по сути продолжение ЭТОЙ открытки, которую я показала на днях. Для её создания я использовала несколько продуктов из последнего релиза американской компании WPlus9.

Я использовала композицию CTS #269
And I am also sharing this card to the following challenges:
И я также показываю эту открытку в следующих чб галлереях:
CASology #298 - Jungle/ Джунгли
TIME Out Challenge #108 - Wild/ Дикий
I am giving away a new bundle of stamps and dies WPlus9 Sympathy Lilies to one lucky winner!
Please answer this question in the comment field to this post by Monday, May 7th.
I will randomly pick a winner and announce her/his name here on my blog on May 8th.
This giveaway is open internationally.
If you consider this post useful and would be interested in reading further about simple and effective ways to make pretty hand made cards, please follow my blog to stay updated.
Я предлагаю приз - комплект штампов и ножей WPlus9 Sympathy Lilies для одного из комментаторов к этой публикации. Вопрос к вам:
Чтобы участвовать в розыгрыше, ответьте на этот вопрос до вечера понедельника 7 мая.
Я выберу счастливчика с помощью генератора случайных чисел и сообщу её/его имя здесь в блоге.
Розыгрыш открыт для читателей со всего мира. Отправка за мой счёт.
Если Вам понравилась моя статья и вам интересно читать про простые и эффективные техники создания красивых открыток, подписывайтесь на мой блог на панели справа.
I thank you for stopping by and wish you all a good luck!
Спасибо, что заглянули, и желаю удачи!

Ножи для вырубки крупных букв завоевывают рынок скрап материалов. Существует много способов использования этих ножей, и сегодня я демонстрирую один простой способ для украшения крупных букв.
In this post I will explain how to decorate big die cut letters with pattern and gold. I have already demonstrated HERE several ways to make fancy dimensional die cuts with own pattern and coloured card stock. Today I will not add dimension, but still will create a die cut sentiment that stands out pretty on a card.
Сегодня я расскажу, как сделать открытку с частично позолоченными буквами. Слово dip в английском значит окунуть, например, в краску. В ЭТОЙ статье я уже рассказывала о нескольких простых и эффективных приёмах создания объёмных вырубок с помощью мелких штампов и цветного кардстока.
Todays card is a spin off of THIS card and again I used stamps and dies from the newest release of WPlus9.
Новая открытка по сути продолжение ЭТОЙ открытки, которую я показала на днях. Для её создания я использовала несколько продуктов из последнего релиза американской компании WPlus9.
How To Make Gold Dipped Alphas:
- Stamp branches from Wplus9 MODERN CALLA LILIES set ( SSS ) set down onto a light pink card stock piece
- Colour the impressions with pencils
- Die cut Thank You with a steel die Wplus9 NO ONE ELSE ( SSS )
- Working a row by row insert THA letters into a die cut negative and mask off the upper part of the die cuts with a post it note.
- Press embossing ink pad to an open area to apply ink generously
- Take the letters out of the negative die cut and cover with embossing powder ( SSS | AMZUS ), shake off the excess
- Use tweezers to hold letters while heat embossing them
- Repeat steps 4-7 for the second and third rows of letters.
Как "окунуть" буквы в позолоту?
- Сделайте несколько оттисков веток из набора штампов Wplus9 MODERN CALLA LILIES set ( SSS ) на розовом кардстоке
- Раскрасьте оттиски цветными карандашами
- Сделайте вырубку Thank You с помощью ножа из комплекта Wplus9 NO ONE ELSE ( SSS )
- Далее работайте по строкам. Вставьте буквы THA в негатив от вырубки и закройте верхнюю половину букв бумагой
- Чернильной подушкой нанесите чернила на открытую часть букв
- Вытряхните буквы из негатива, засыпьте золотой пудрой для горячего тиснения и стряхните избыток.
- При запекании пудры держите буквы металлическим пинцетом.
- Повторите шаги 4-7 для следующих двух строк.

To finish off the card:
- Mask off a thin frame in the opposite corners of the card base and stamp the branches from MODERN CALLA LILIES set ( SSS ) set.
- Having masked the upper part of Thank You Friend stamp from Wplus9 NO ONE ELSE set ( SSS ) set, ink up only the word Friend and stamp it down onto the card base.
- Coloured the branches with pencils
- To align the die cut letters use a negative die cut from a scratch paper and adhere the letters with micro glue dots that are tiny enough to fit these die cuts ( SSS | AMZUS ).
Чтобы закончить работу над открыткой:
- Отступите 5 мм от края открытки, замаскируйте бумагой противоположные углы и сделайте оттиски веток из набора Wplus9 MODERN CALLA LILIES set ( SSS )
- Закрыв бумагой полностью слово Thank на штампе Thank You Friend из набора Wplus9 NO ONE ELSE ( SSS ), нанесите черные чернила на слово Friend и сделайте оттиск
- Раскрасьте оттиски веток цветными карандашами
- Чтобы аккуратно и ровно приклеить позолоченные буквы, используйте негатив от вырубки из тонкой бумаги и миниатюрные клеевые точки ( SSS | AMZUS ).
Если Вы подписаны на мой профиль @sweetkobylkin в Instagram, то в Wow! How? Card Story вы сможете посмотреть пошаговые фото создания этой открытки.
This card's layout is inspired by CAS(E) This Sketch #269Я использовала композицию CTS #269
And I am also sharing this card to the following challenges:
И я также показываю эту открытку в следующих чб галлереях:
CASology #298 - Jungle/ Джунгли
TIME Out Challenge #108 - Wild/ Дикий
GIVEAWAY
What is your favourite way to use alphas (sentiments) dies?
I will randomly pick a winner and announce her/his name here on my blog on May 8th.
This giveaway is open internationally.
If you consider this post useful and would be interested in reading further about simple and effective ways to make pretty hand made cards, please follow my blog to stay updated.
Я предлагаю приз - комплект штампов и ножей WPlus9 Sympathy Lilies для одного из комментаторов к этой публикации. Вопрос к вам:
Как вам больше всего нравится использовать крупные буквенные ножи?
Я выберу счастливчика с помощью генератора случайных чисел и сообщу её/его имя здесь в блоге.
Розыгрыш открыт для читателей со всего мира. Отправка за мой счёт.
Если Вам понравилась моя статья и вам интересно читать про простые и эффективные техники создания красивых открыток, подписывайтесь на мой блог на панели справа.
I thank you for stopping by and wish you all a good luck!
Спасибо, что заглянули, и желаю удачи!

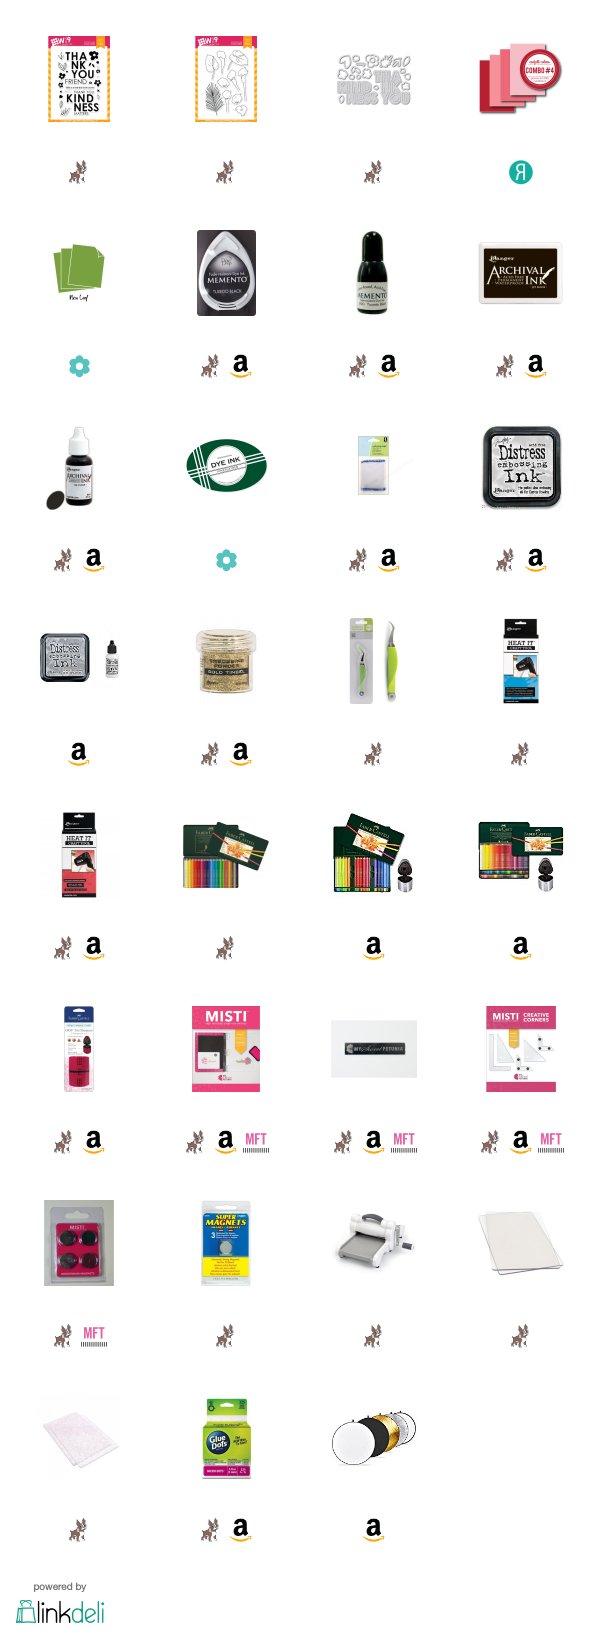
Supplies Used
Compensated affiliate links used. I personally have bought all the below displayed products. This post was not paid or sponsored.
Click on the icons below to go to your preferred online store. If you buy any of these products following my link, I will receive a small commission at no cost for you.


I love watercolour background and sentiment dies. Also a background done with distress inks and dimensional sentiment dies cutouts.
ReplyDeleteWonderful take on the sketch!
ReplyDeleteBeautiful! I love how you covered half of the alphas in embossing powder - I’ll need to try it some time myself - it looks stunning! I usually use alphabet Dies for personalising cards, eg to put the recipient’s name on my card or project. I also use them for sentiments, of course - especially like to use them stacked up for additional dimension. Thanks for the chance to win the lovely goodies, too!
ReplyDeleteКсюша, мне очень нравятся такие ножи в работах! Особенно, когда они приподняты над основой) вот в твоей открытке слово thanks - самое то)) сама я не использовала их никогда по простой причине - у меня их нет и не знаю, когда раскошелюсь на них.. хотя очень круты они в работах, как по мне))
ReplyDeletePretty card! Love the gold tipped letters! I have to try that.
ReplyDeleteI have some alpha dies and I mostly use them to spell out a word like 'snow' or 'thanks' on a card. Have made a few eclipse style cards also. I need to use them more often!
First, I love your card and your technique for the letters I will have to try this! I usually stack my letter or word dies at least three high and add Wink of Stella, Gloss Accents or both! Easy Peasy! Thanks for the chance!
ReplyDeleteI LOve to 'accentuate the negative' Ksenija! But I may just borrow your gold-dipped design!!! xx
ReplyDelete=]
Wonderful card, Xenia!! I absolutely love the green base and all the small details you've added... Yet the look is perfectly CAS and so stylish!!! Very generous of you to throw a giveaway too. I don't have any alphabet dies yet but I do love them... I remember you writing a post about using them and was very tempted to buy a set!! Your posts are alway so educational and filled with inspiration, thanks Xenia! And thank you for joining us at TIME OUT! :)
ReplyDeleteЯ тоже люблю добавлять объем над фоном,если вырубать буквы из разного цветного кардстока и склеивать потом в шахматном порядке получается интересный срез(край) у букв.
ReplyDeleteА в этой открытке мне понравилось, как веточки отштампованы не от края листа)
You've just reminded me!! I don't own any alpha stamp sets but I did buy some MFT Stamps small alpha dies last month and still haven't used them!! I do love to heat emboss a whole sentiment die and even add Glossy Accents over top, lots of shine and dimension. Love your gold dipped letters and the way you stamped the leaves over the letters looks incredible. A stunning card and I'm so happy to see you at TIME OUT!
ReplyDeleteМне нравится, как ты используешь позитив от вырубки. Спасибо тебе за пошаговую инструкцию. Очень полезно! Ведь при всей простоте столько тонкостей в технологии)). Очень круто смотрится негатив от вырубки в качестве окошка шейкера, когда нижняя панель тонирована алкогольными чернилами.У меня пока ножей с алфавитном нет. Я склоняюсь приобрести алфавит, а не отдельные фразы.
ReplyDeleteI always love your cards and this is no exception. The gold on the letters are the perfect addition. Absolutely beautiful design! Thanks for playing along with CASology!
ReplyDelete